

- How to Paper Doll, Paper Doll
- Oksana Pohrebniak
How to assemble a paper doll
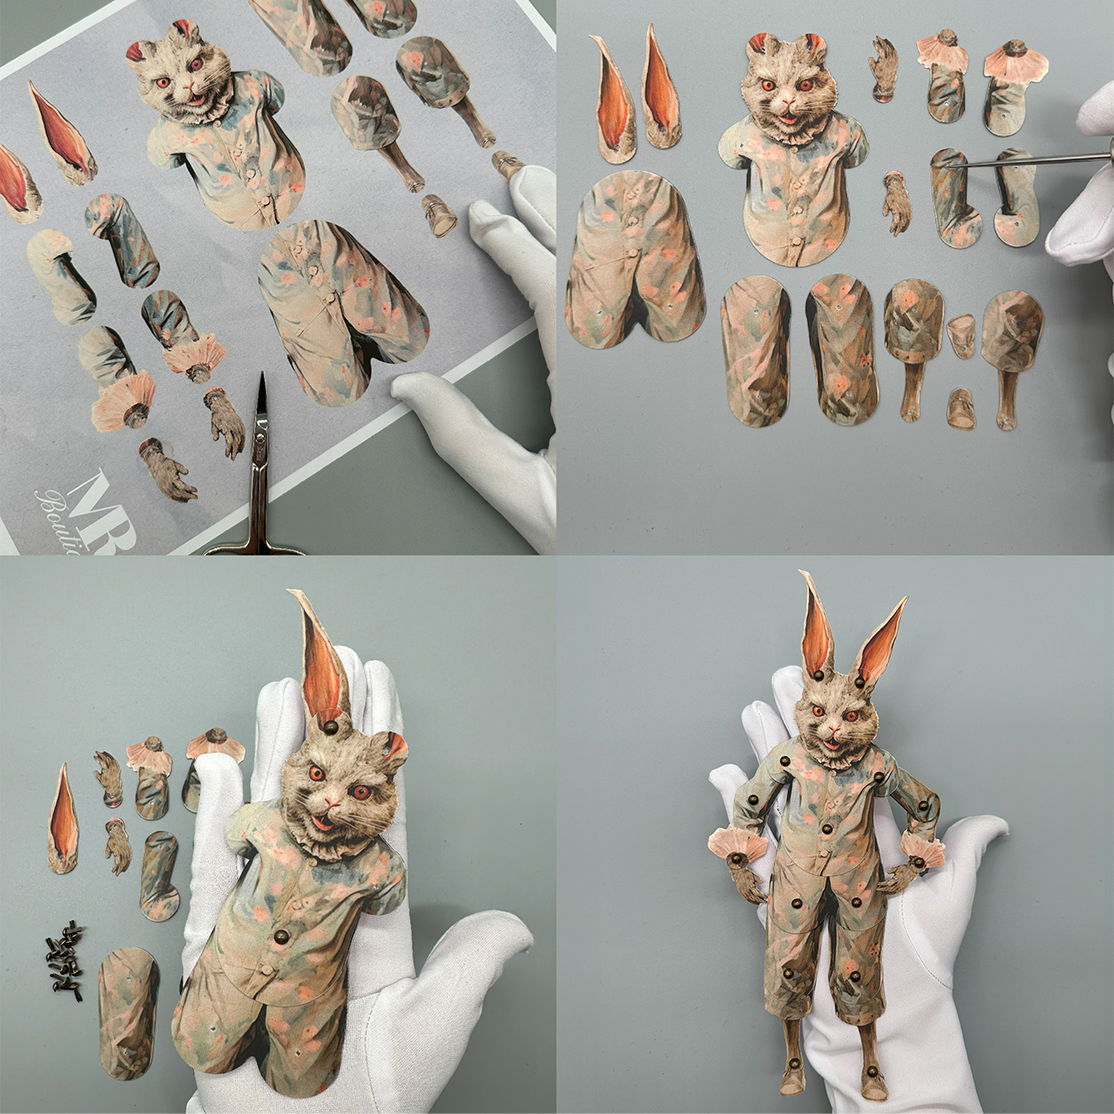

A doll from the shop arrives as a file. Between the download and a figure that folds at the elbow there are four steps and about thirty minutes. None of them needs a workshop.
What you need
- The files. Every doll comes as three: a print-ready PDF for US Letter, the same sheet for A4, and a transparent PNG you can scale to any size.
- A home printer. Any one will do. Colour, inkjet or laser, it makes no difference to the joints.
- Paper between 160 and 200 gsm. Thinner tears at the hole after a few turns. Much thicker and the joint stops turning at all. Card from a cereal box sits in the right range and works.
- Nail scissors. Small blades follow a curve better than kitchen scissors. No knife and no cutting mat.
- Something to pierce with. A needle, an awl, or the tip of a compass. A hole punch cannot reach the marks in the middle of a sheet.
- Brads. The small split-pin fasteners that hold the joints. If you have none at home, a thread with a loose knot does the same job.
Step 1: print at 100 percent
This is the step that decides whether the rest works. Turn off "fit to page" or "shrink to fit" in your print dialog and set the scale to 100 percent. Scaling moves the holes closer together than the arms expect, and the doll will not line up no matter how carefully you cut.
Step 2: cut along the grey line
Each piece has a grey outline drawn a little outside the artwork, so a slightly wobbly cut still looks right. Cut the large pieces first while your hand is fresh, and leave the hands and feet for last.
Step 3: pierce the marked holes
Every joint is a small circle printed on the piece. Rest the paper on an eraser or a folded towel, push the needle through the centre of the circle, and widen the hole by turning rather than pushing. A torn hole is the one mistake that cannot be undone.
Step 4: join with a brad
Push the brad through both pieces, turn it over, and open the legs behind the paper. Stop before it is tight. A joint that cannot turn is a joint that is done up too hard, and loosening it afterwards usually widens the hole.

Then pose it
Seventeen centimetres of paper that sits, waves, points, and holds the pose you leave it in. Colour over it with pencils if you want, or glue on fabric for clothes. The file stays in your account, so a second attempt costs nothing but paper.
What people do with them
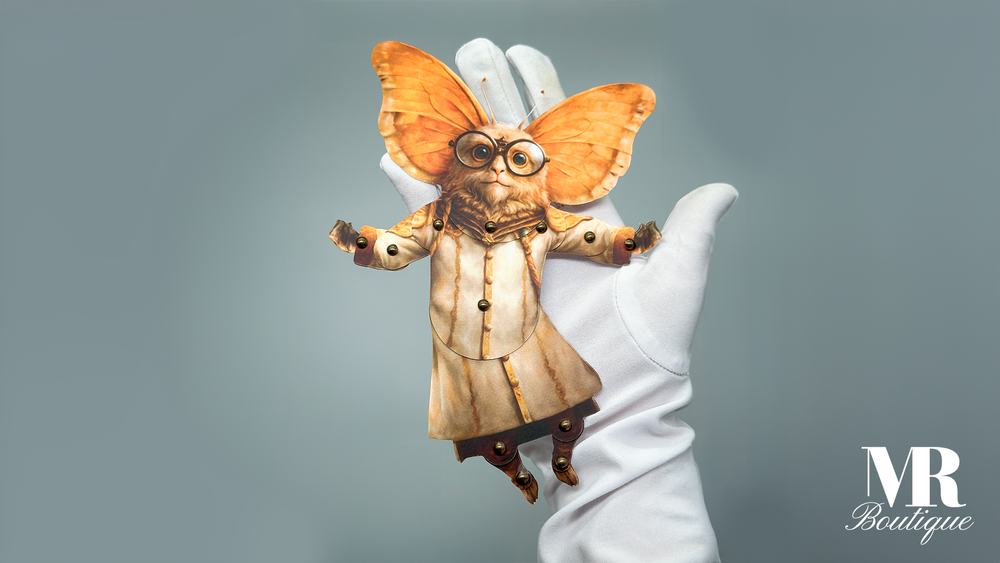
Buyers send us photographs: dolls glued to birthday cards, standing on cake as toppers, tucked into a plant pot, pasted into a junk journal. One went into a shadow theatre. They are made to be cut up and used, not kept in the envelope.
The Meggie Retrow team
Write to us

1 comment
J’adore….